
The sculpting process
Honoring Life With the Most Beautiful Materials on Earth
Explore our woodworking, ceramics, and sculpting process for custom memorial urns and custom pet urns from start to finish.
How we make your custom urn
Step 1. designing your vessel
Translating photographs into 3D depth
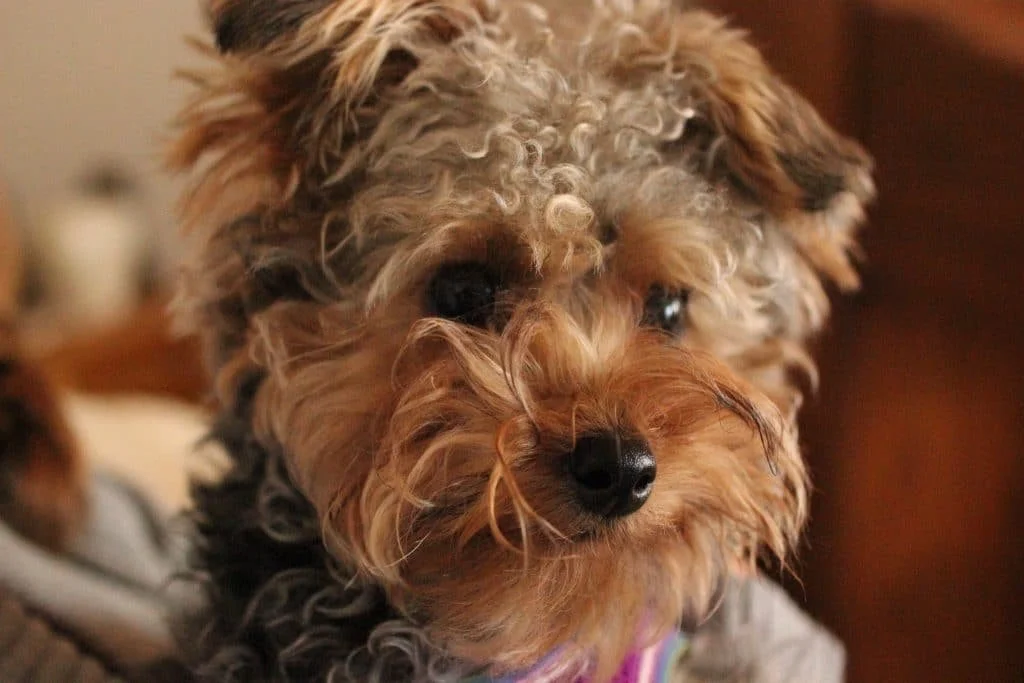
We begin the design process after you upload your photographs. Because we sculpt each piece, we have to analyze each image for a few things such as:
Lighting & Shadow Mapping: We adjust exposure, contrast, and highlights to reveal the subtle contours of facial bone structure, eye shape, ear curvature, and muzzle or profile definition.
Feature & Angle Review: While a single clear photo is often enough to establish depth, we occasionally ask for additional reference angles if specific unique markings, ear shapes, or expressions need extra clarity.
Sculpture vs. Flat Etching: Please remember that a sculpted relief is not a 2D laser burn or a flat photograph, it is a physical, 3D piece of art that approaches but never exactly equals the real life inspiration. Small artistic translations naturally occur to elevate a flat picture into a dimensional piece of art where real light and shadow define the likeness.
Timber & tone harmonization
Once the sculptural form is modeled, we check the digital design with your chosen timber and color palette. How light interacts with wood species can impact how a relief sculpture is viewed, so we advise if there are any conflicts.
Highlighting Form with Mid-Tones: Woods like Black Walnut, Cherry, and Maple strike the ideal balance of contrast and warmth, allowing subtle facial contours and carved textures to catch the light beautifully.
Managing Contrast Extremes: We can work with higher contrast woods like the bright and brilliant Aspen, but these can wash out delicate interior angles. Ultra-dark woods like Ebony can also conceal relief shadows. We ensure your design and wood choice work in complete visual harmony and make or advise adjustments as needed.
Harnessing Natural Wood Grain: Wood grain is an active design element. Distinctive cathedral patterns like the pronounced rings in White Oak can be deliberately positioned to frame and layer a subject, or oriented carefully so the grain doesn’t distract from fine facial details.
Step 2. Selecting & preparing the right materials
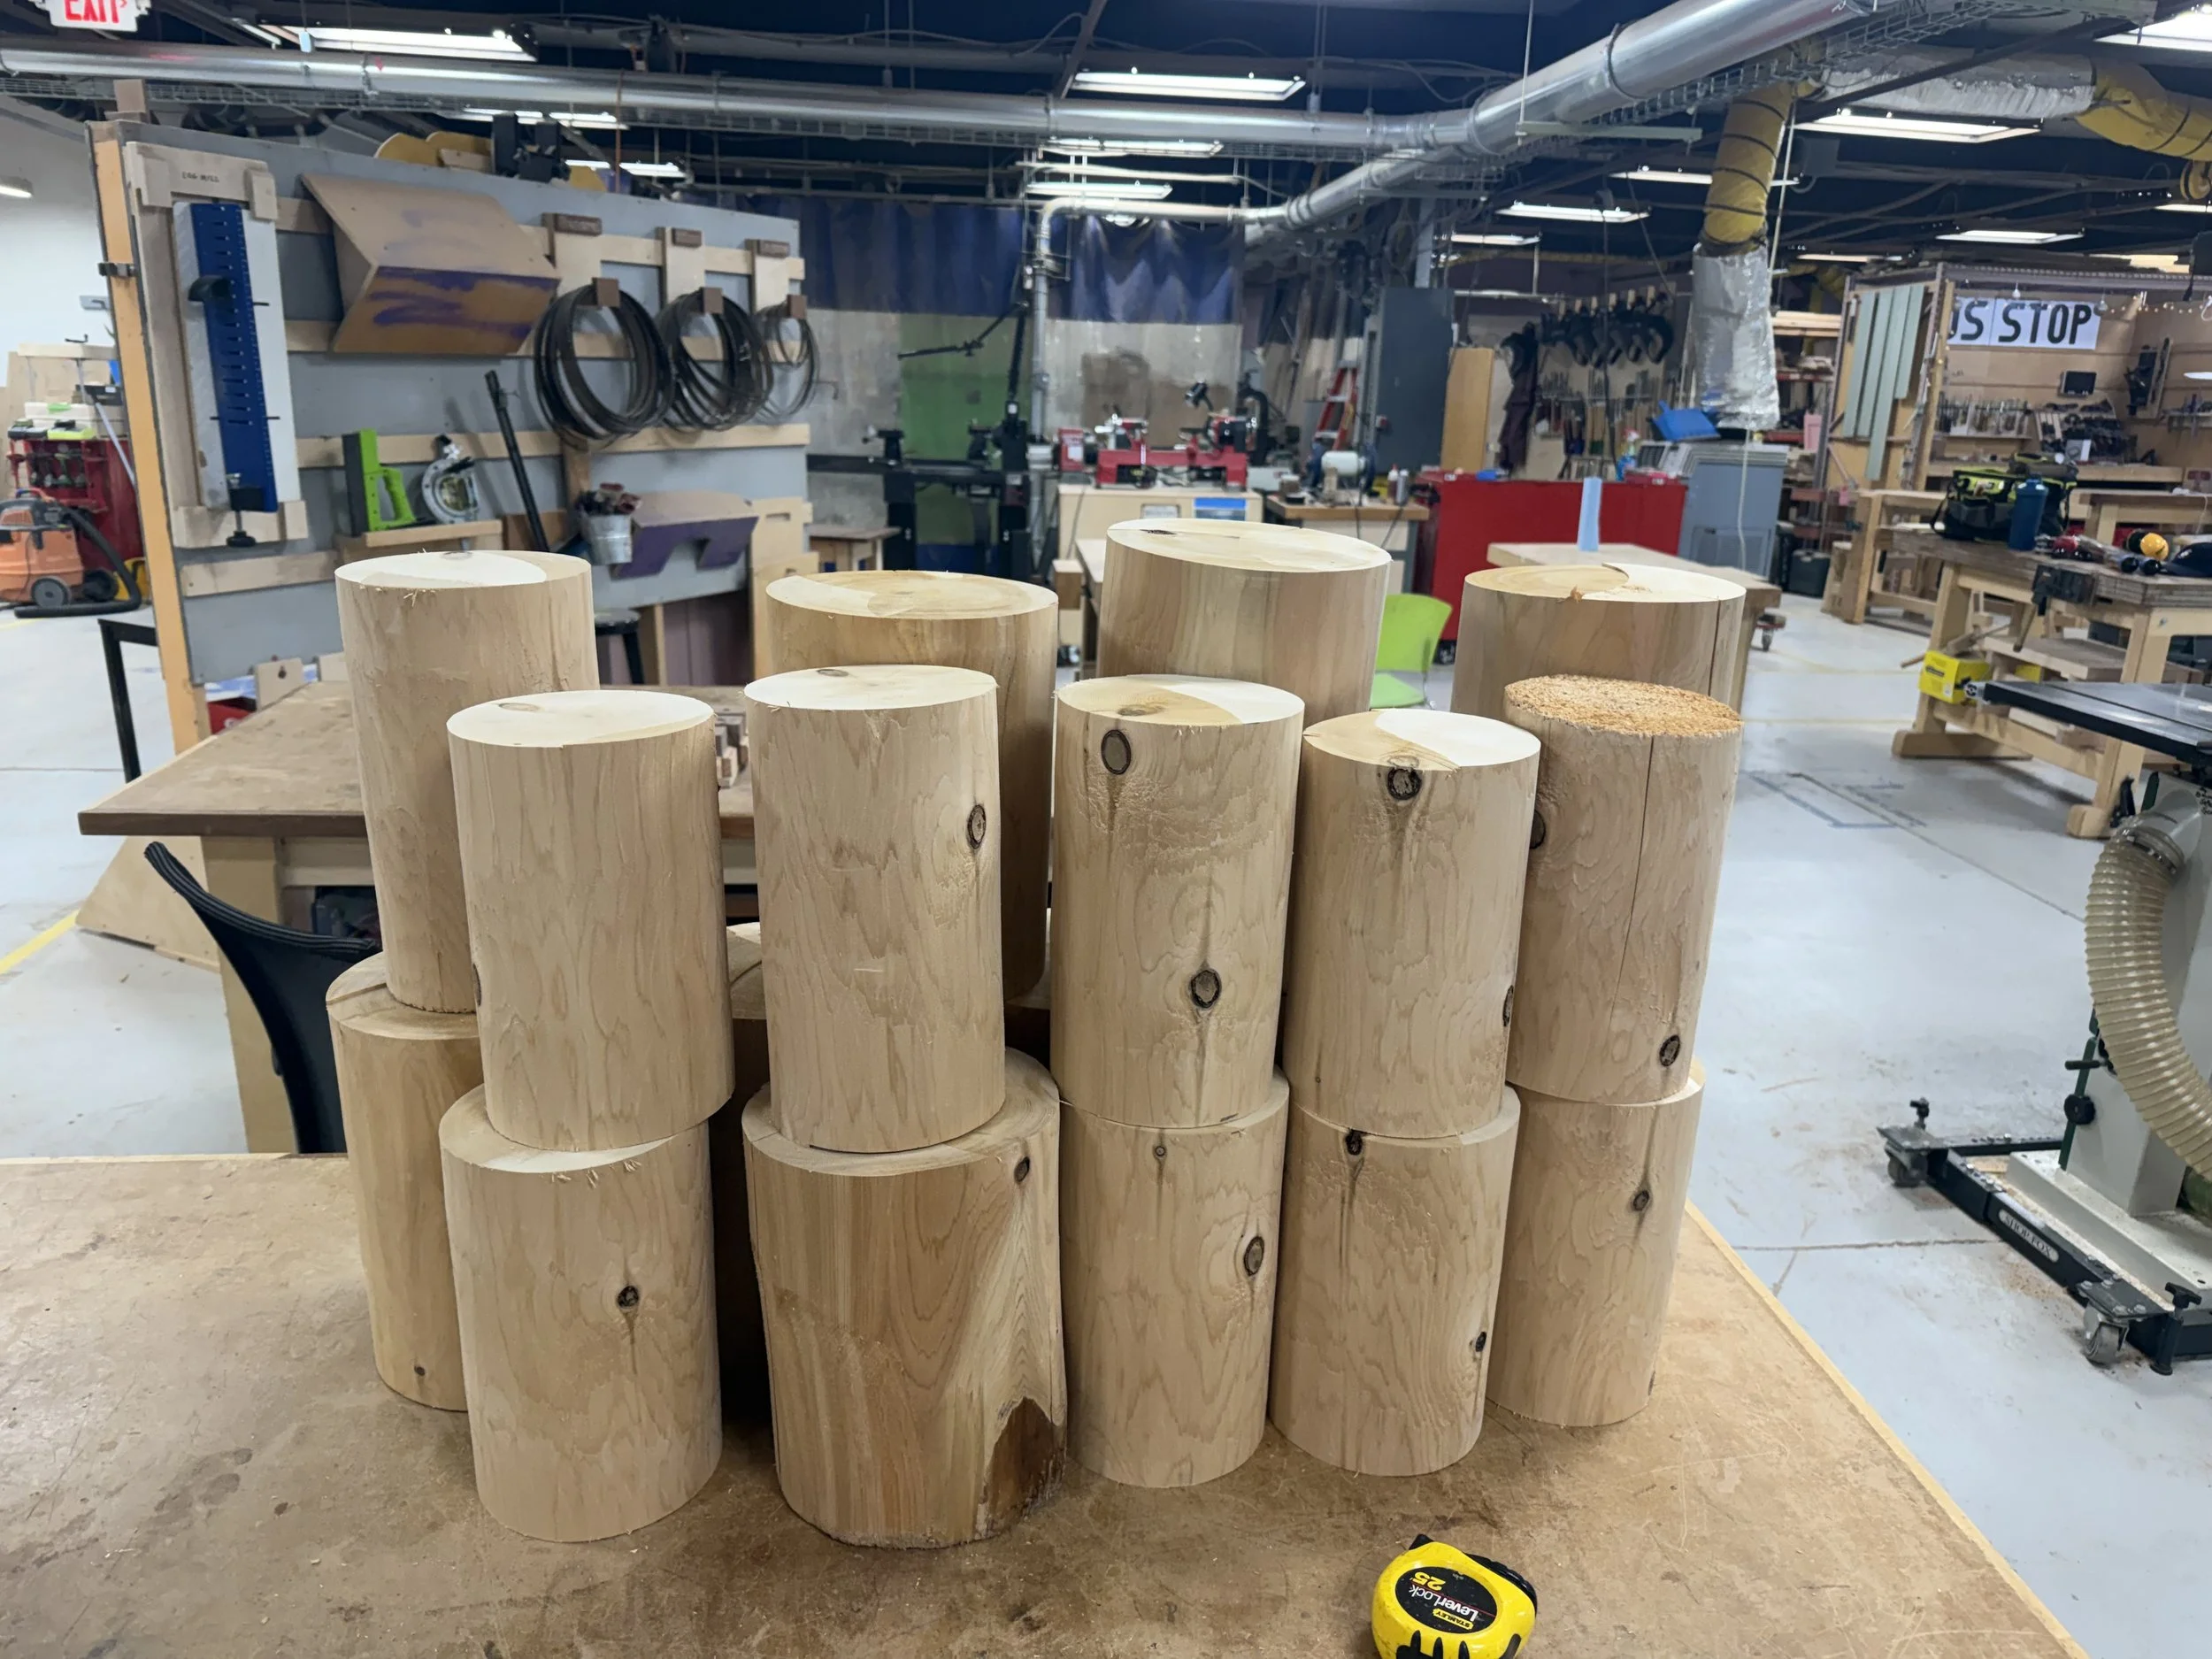
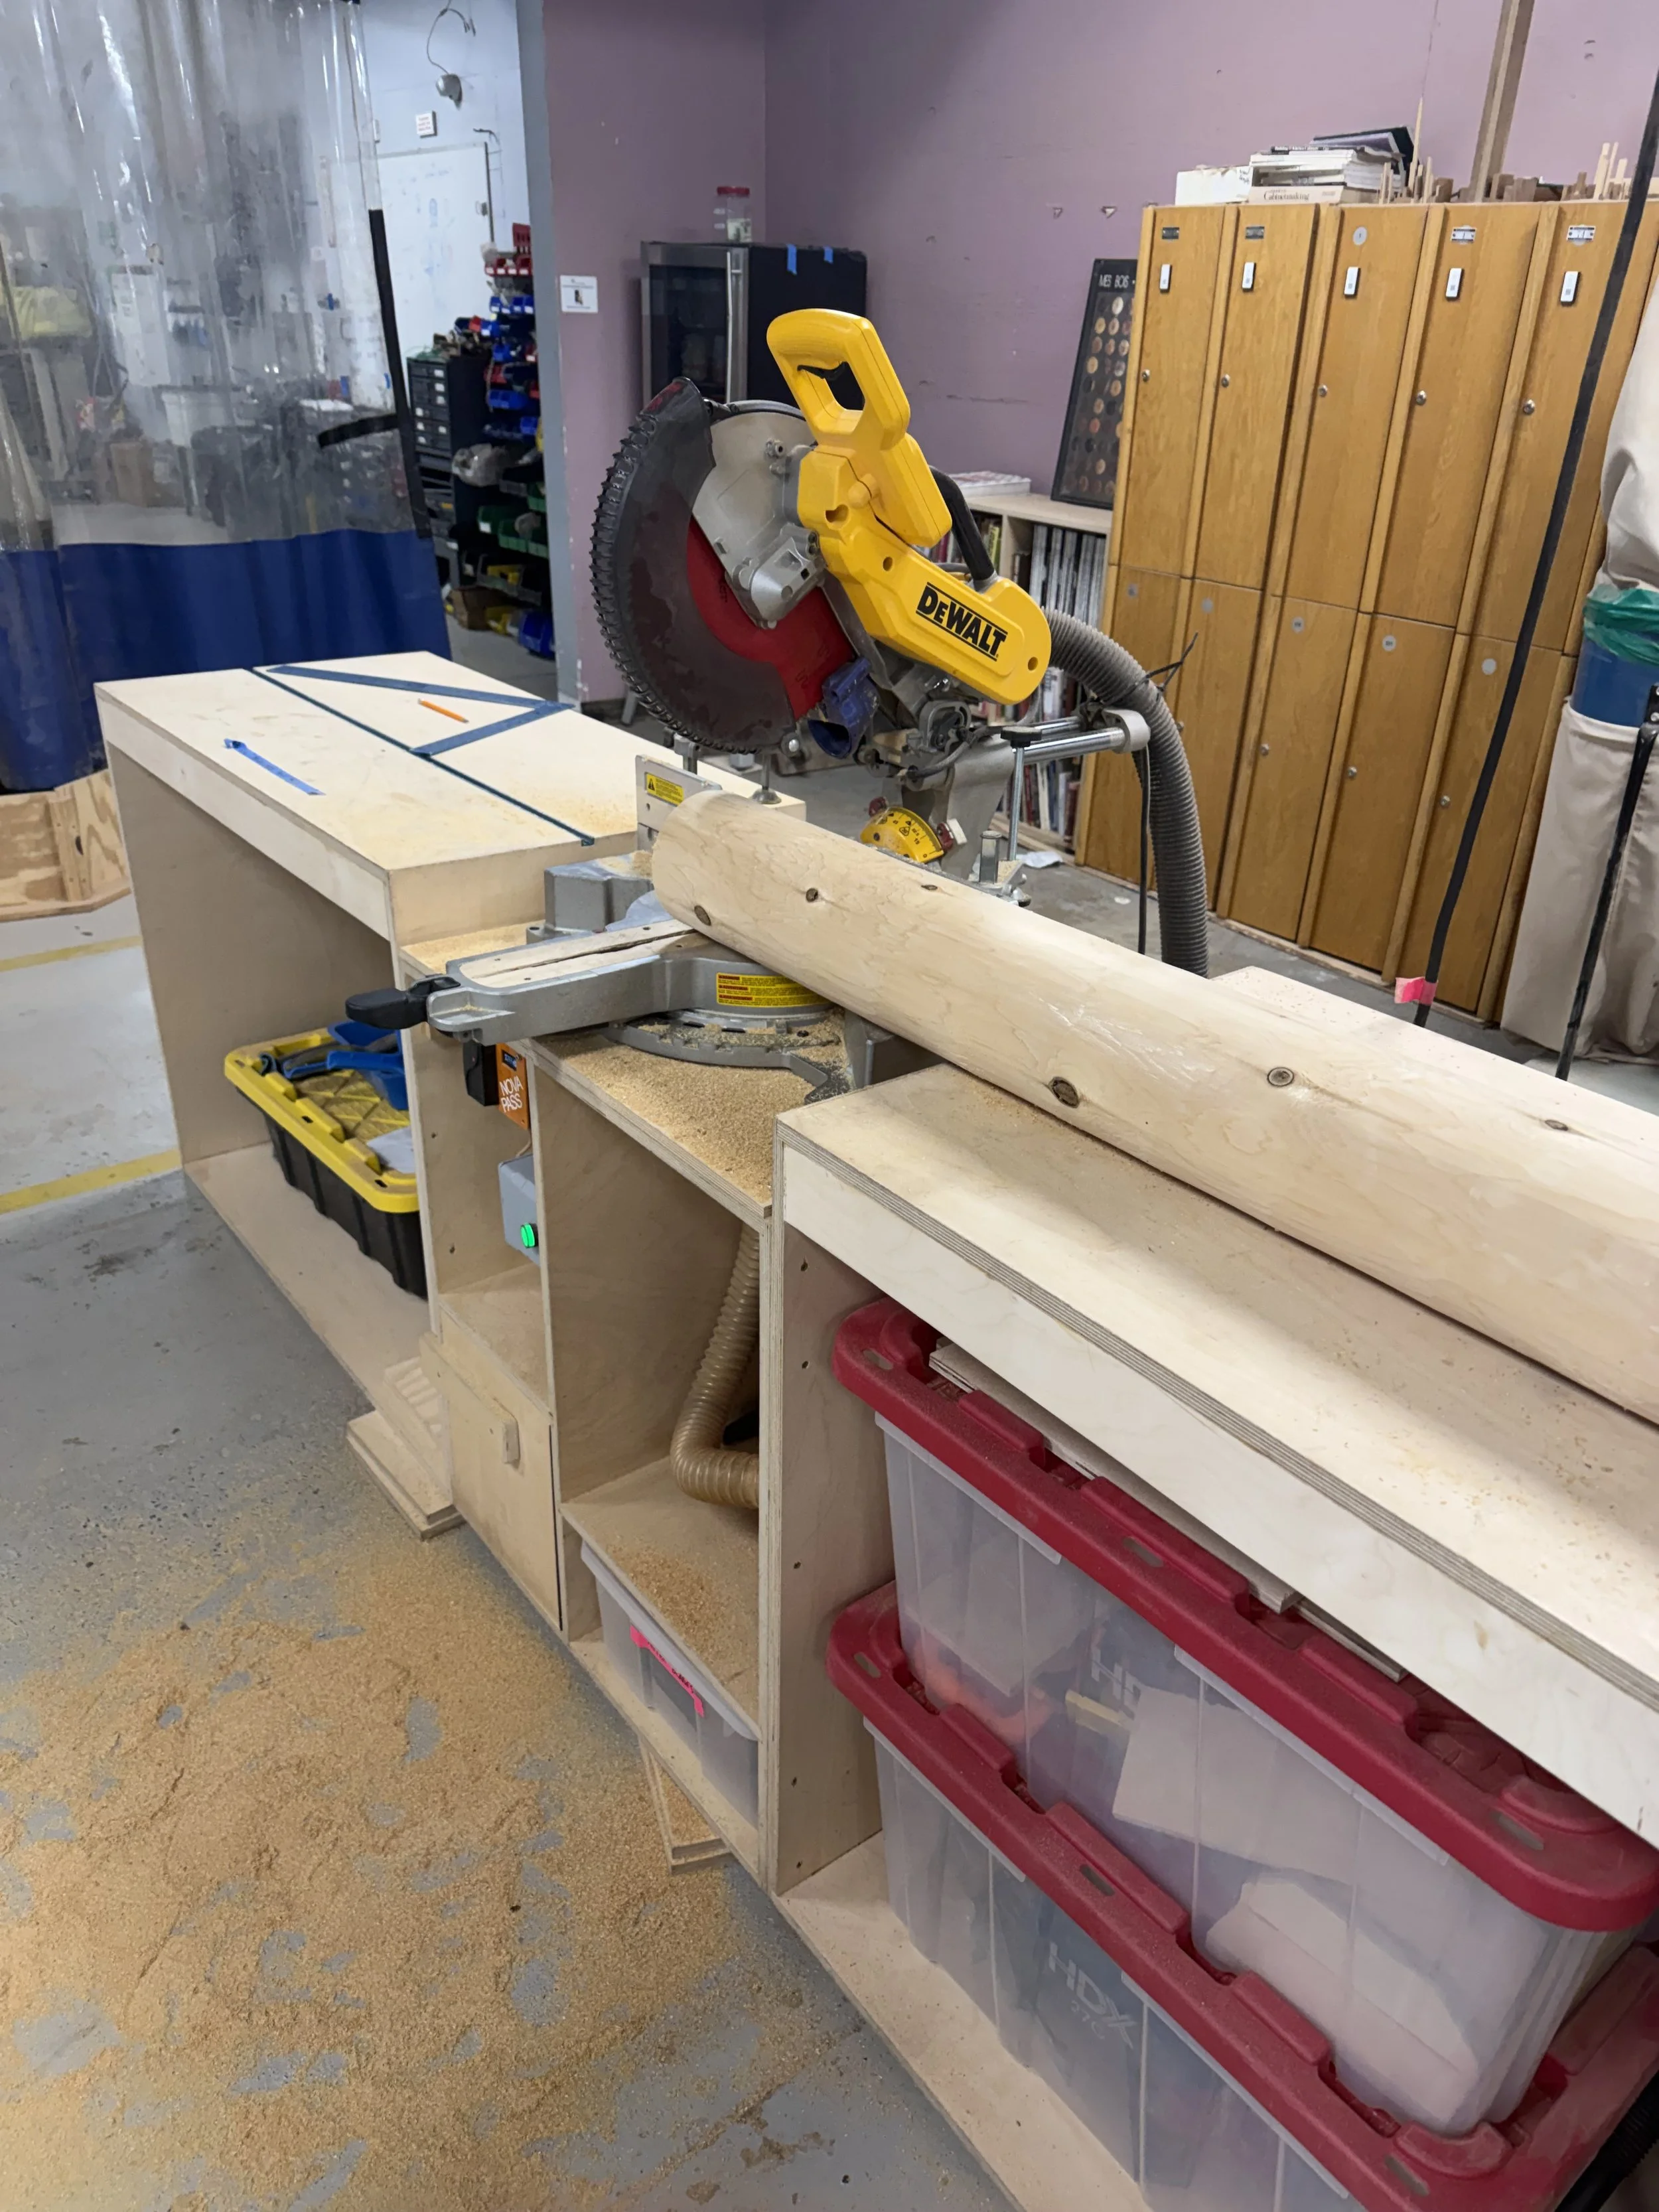
Sustainable Kiln-Dried Woods
A lasting memorial requires an uncompromised structural foundation. We select our wood from one of two channels:
Certified Sustainable Suppliers: Responsibly harvested turning blanks sourced from suppliers dedicated to ethical forest management.
Hand-Selected Mill Lumber: Rough-cut timber personally sourced and inspected from local lumber yards for exceptional grain patterns, stability, and character.
Note: Kiln dried woods are less likely to warp, cup, or unexpected y shrink over time.
Moisture Control & Structural Stabilization
Wood remains an active, organic material that breathes and reacts to its environment. Before any shaping begins, we prepare each block to guarantee decades of structural integrity with moisture testing and defect stabilization.
At this stage, minor natural hairline checks or voids are carefully assessed either trimmed away during rough milling or permanently stabilized using museum-grade resin methods to ensure a flawless, airtight vessel wall.
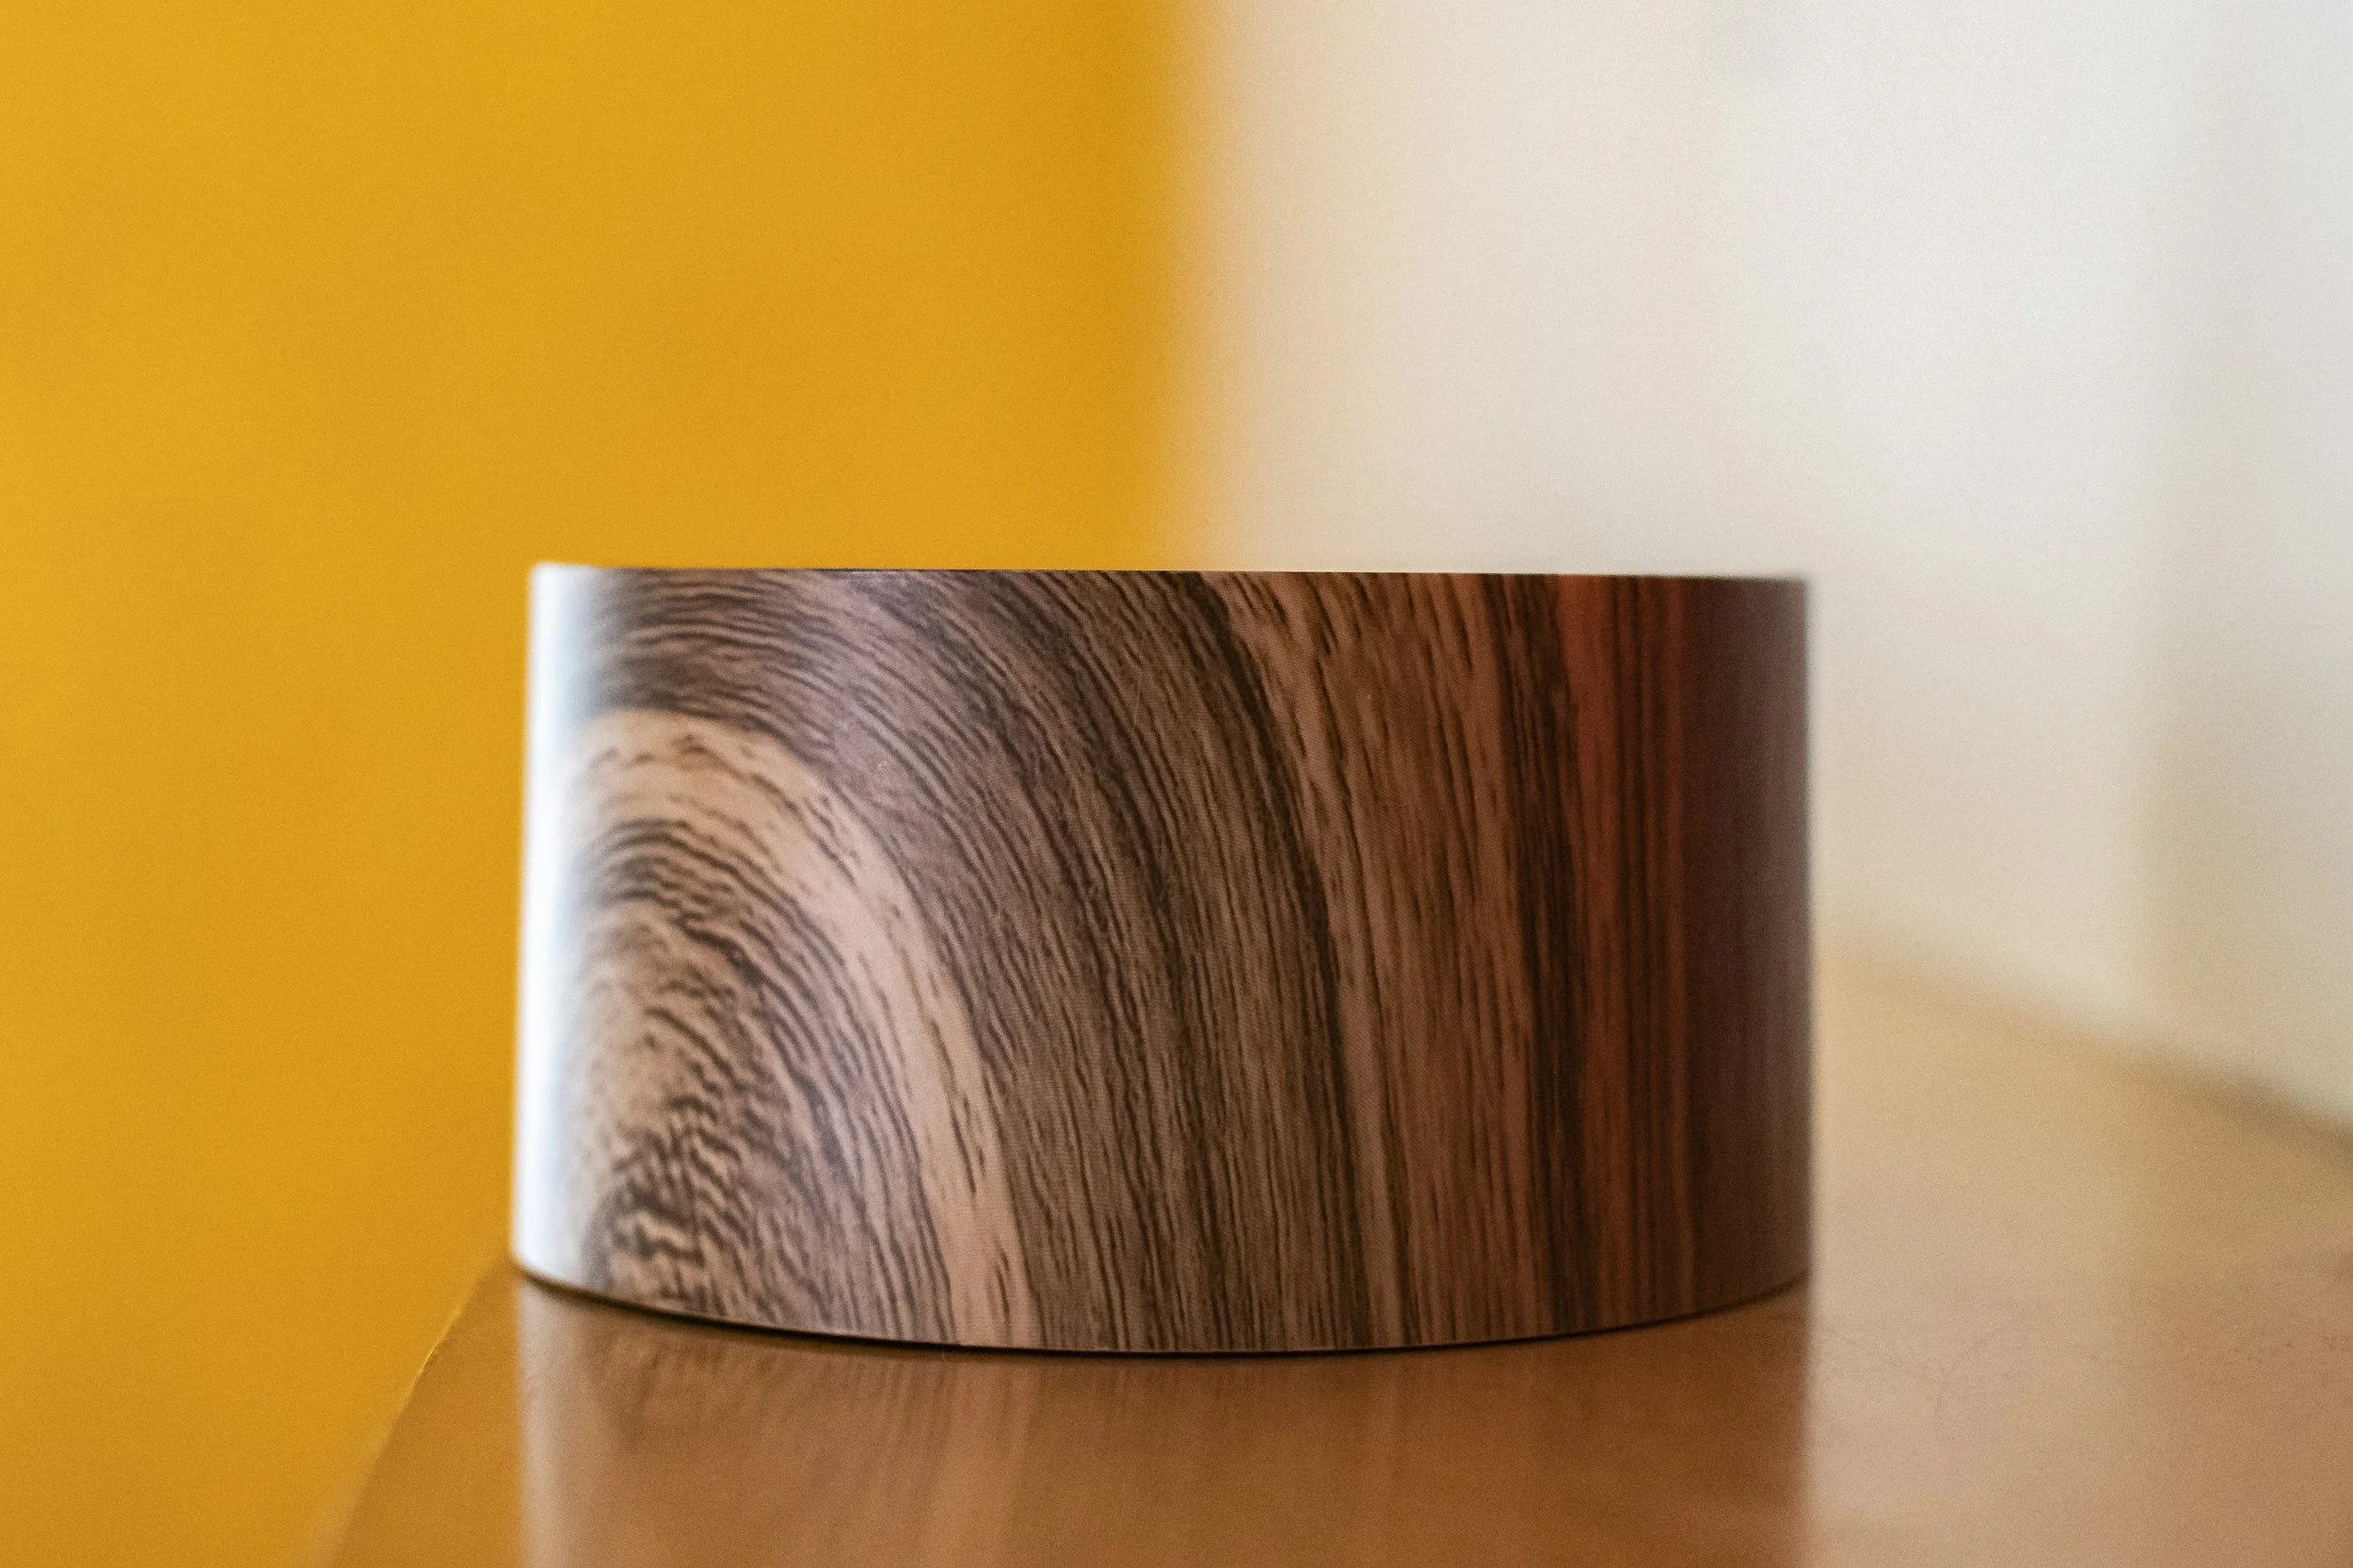
Embracing Natural Character Over Uniformity
In a world of mass-produced plastic and veneer, solid hardwood is inherently unique. No two trees grow the same way, and no two Mont Arbor urns are ever identical:
Unique Color & Mineral Streaks: Natural shifts from rich heartwood to pale sapwood, mineral streaks, and subtle tonal gradations are the authentic fingerprints of the tree.
Dynamic Grain Movement: Cathedral arcs, curly figures, and tight growth rings add depth and movement to the finished vessel.
An Heirloom Philosophy: Rather than viewing organic grain shifts and tonal differences as flaws, we celebrate them. These natural variations ensure that your loved one’s memorial is as singular and irreplaceable as the life it honors.
Step 3. Preparing the urn
Once the raw timber has been kiln dried, treated, and fully prepared, we move on to lathe work. We hand turn every wooden urn on a lathe using traditional tools honed through countless hours of practice and family instruction.
We take our initial passes at lower speeds with the roughing gouge to remove high spots, overhangs, and "shadows"(shadows are the optical blurs of unevenly spinning blank sections.)This turns the wood into a balanced cylinder, establishing the stability and safety needed for shaping.
From there, each urn follows a signature studio silhouette, but the timber itself always has a say. The unique grain or patterns of the wood help guide us through decisions on where to cut and what to highlight. We make these small adjustments to curves, beads, or tapers to showcase striking figure, curls, or grain transitions. While each piece honors its unique natural character, the overall proportions remain true to the classic designs seen throughout our collection.
Before the vessel leaves the lathe, we take two critical steps ensure lasting quality:
The Lid Fit: The mortise and tenon joint for the lid is turned to exact tolerances, creating a secure, seamless seal.
Progressive Sanding: The piece is sanded through progressively finer grits while spinning and with the grain, eliminating tool marks and leaving a smooth, satin surface ready for relief carving and final finishing.
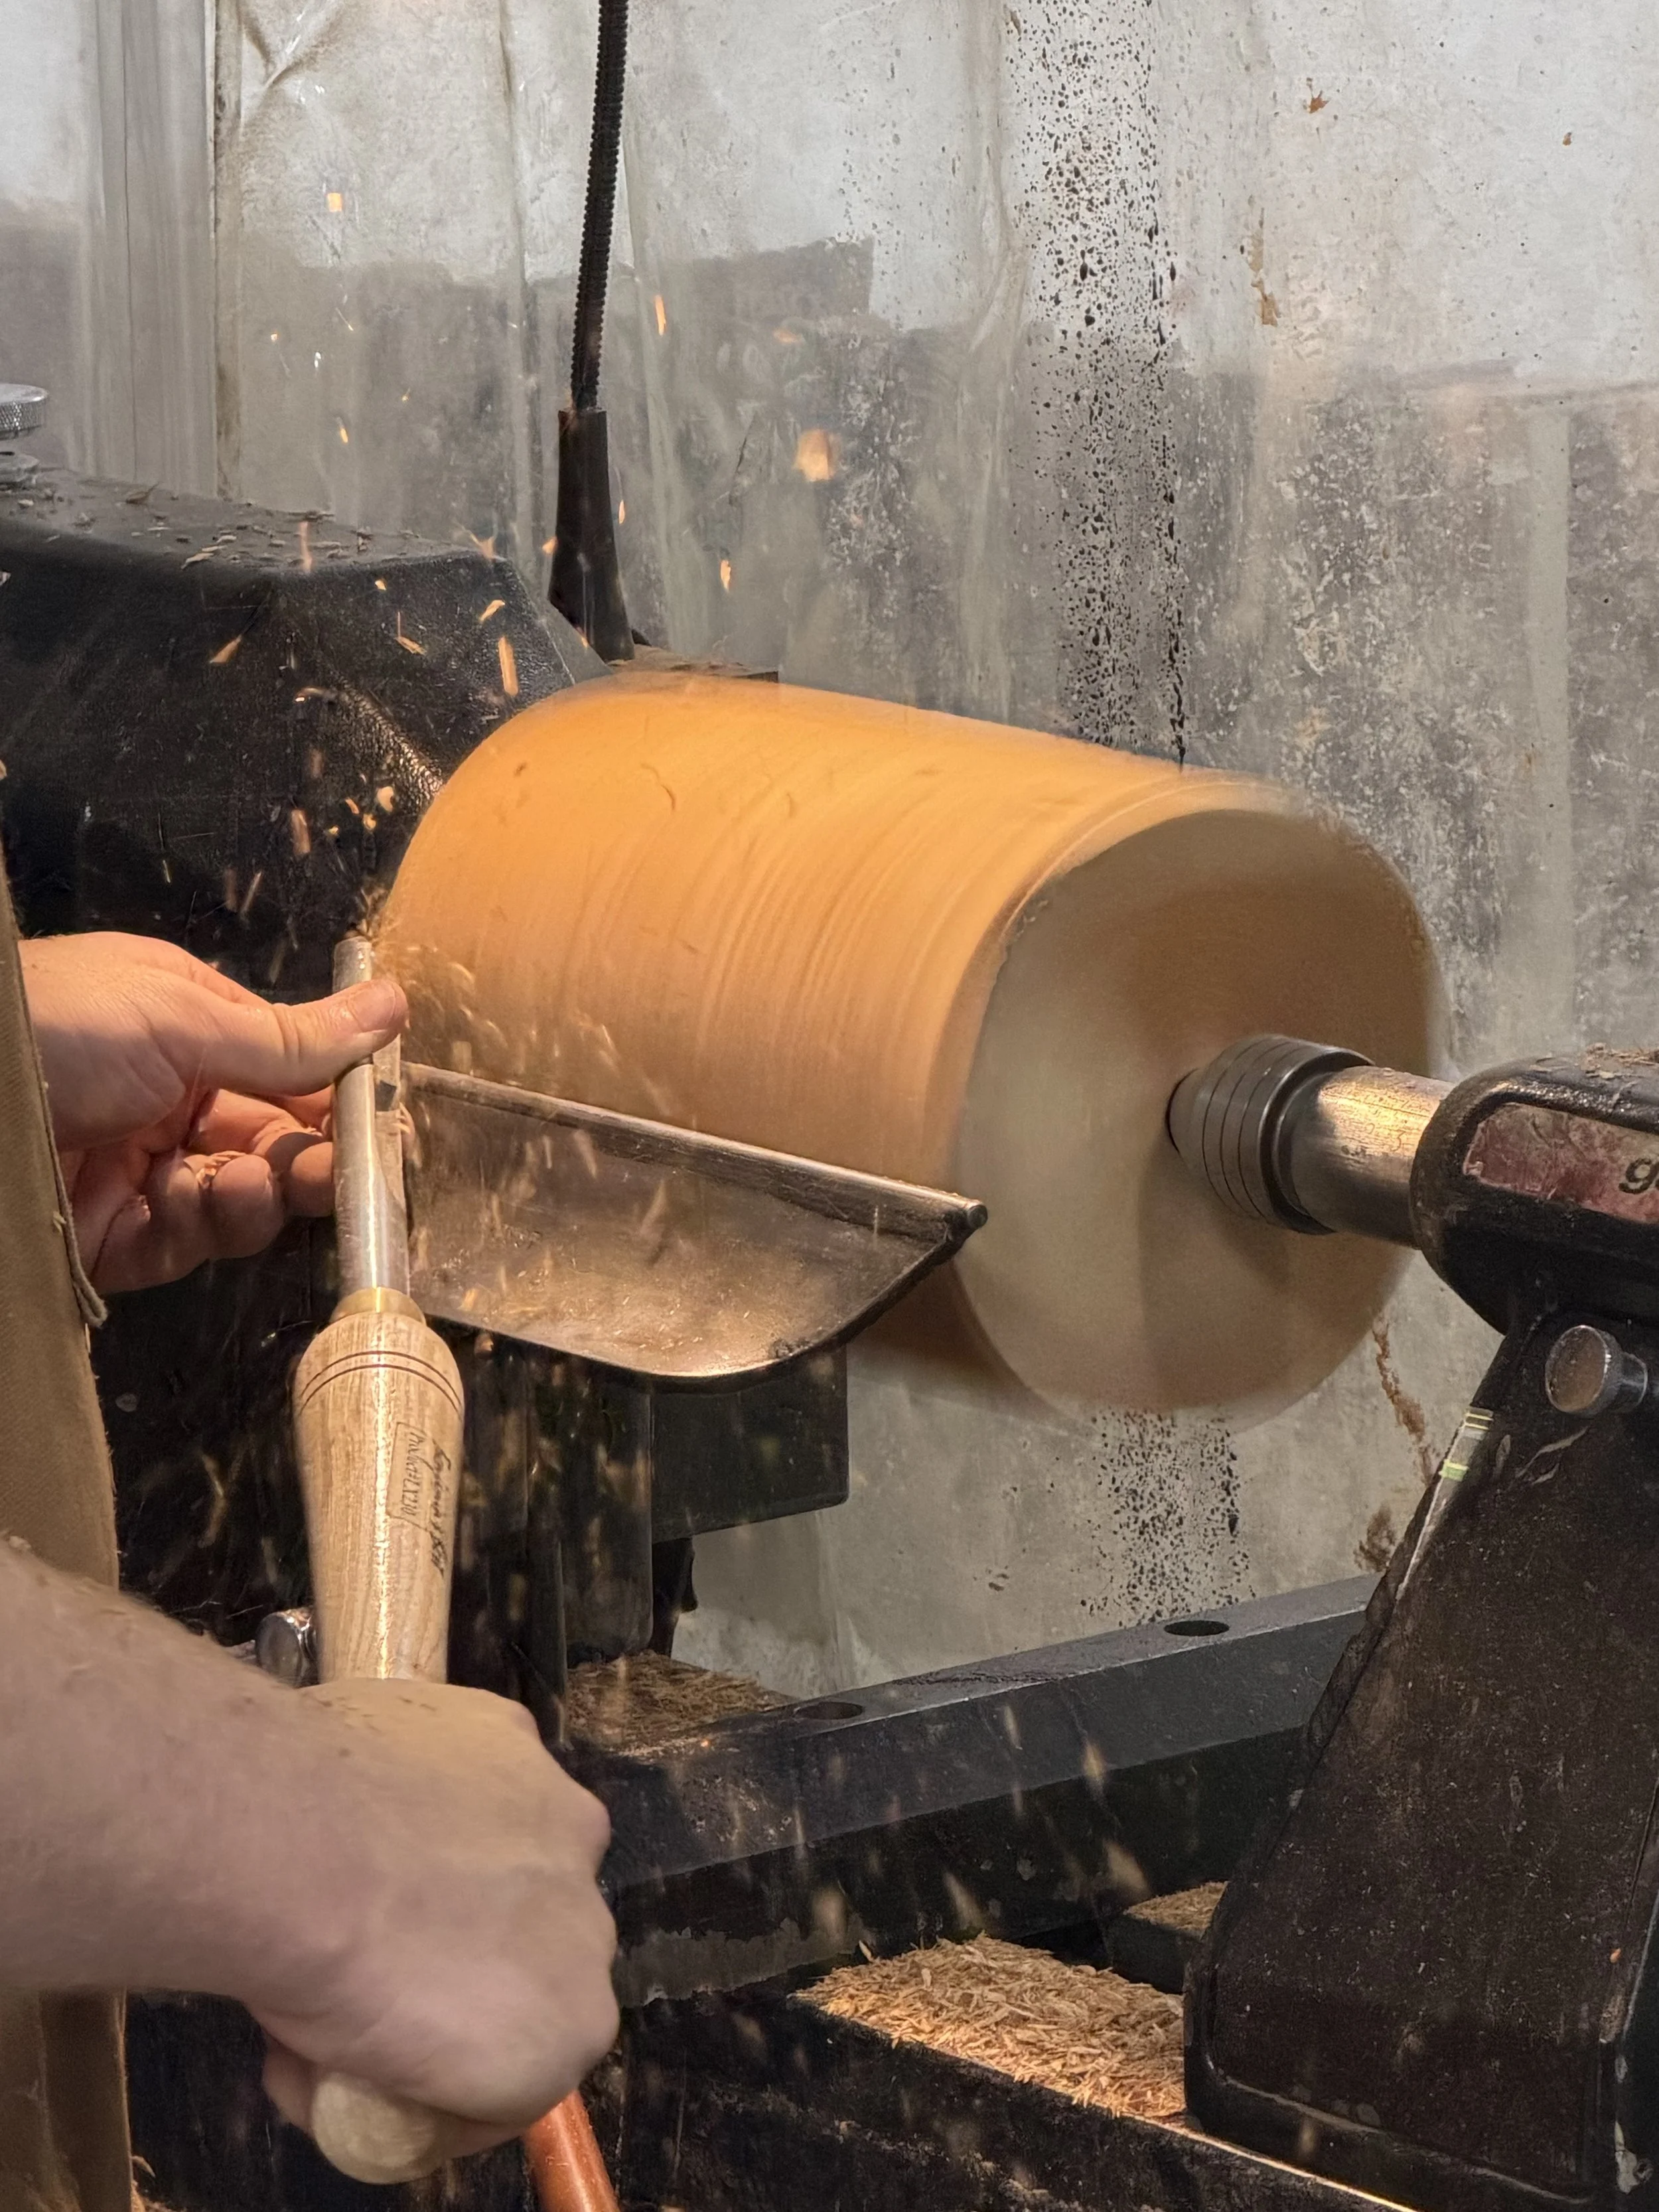
1. Initial passes
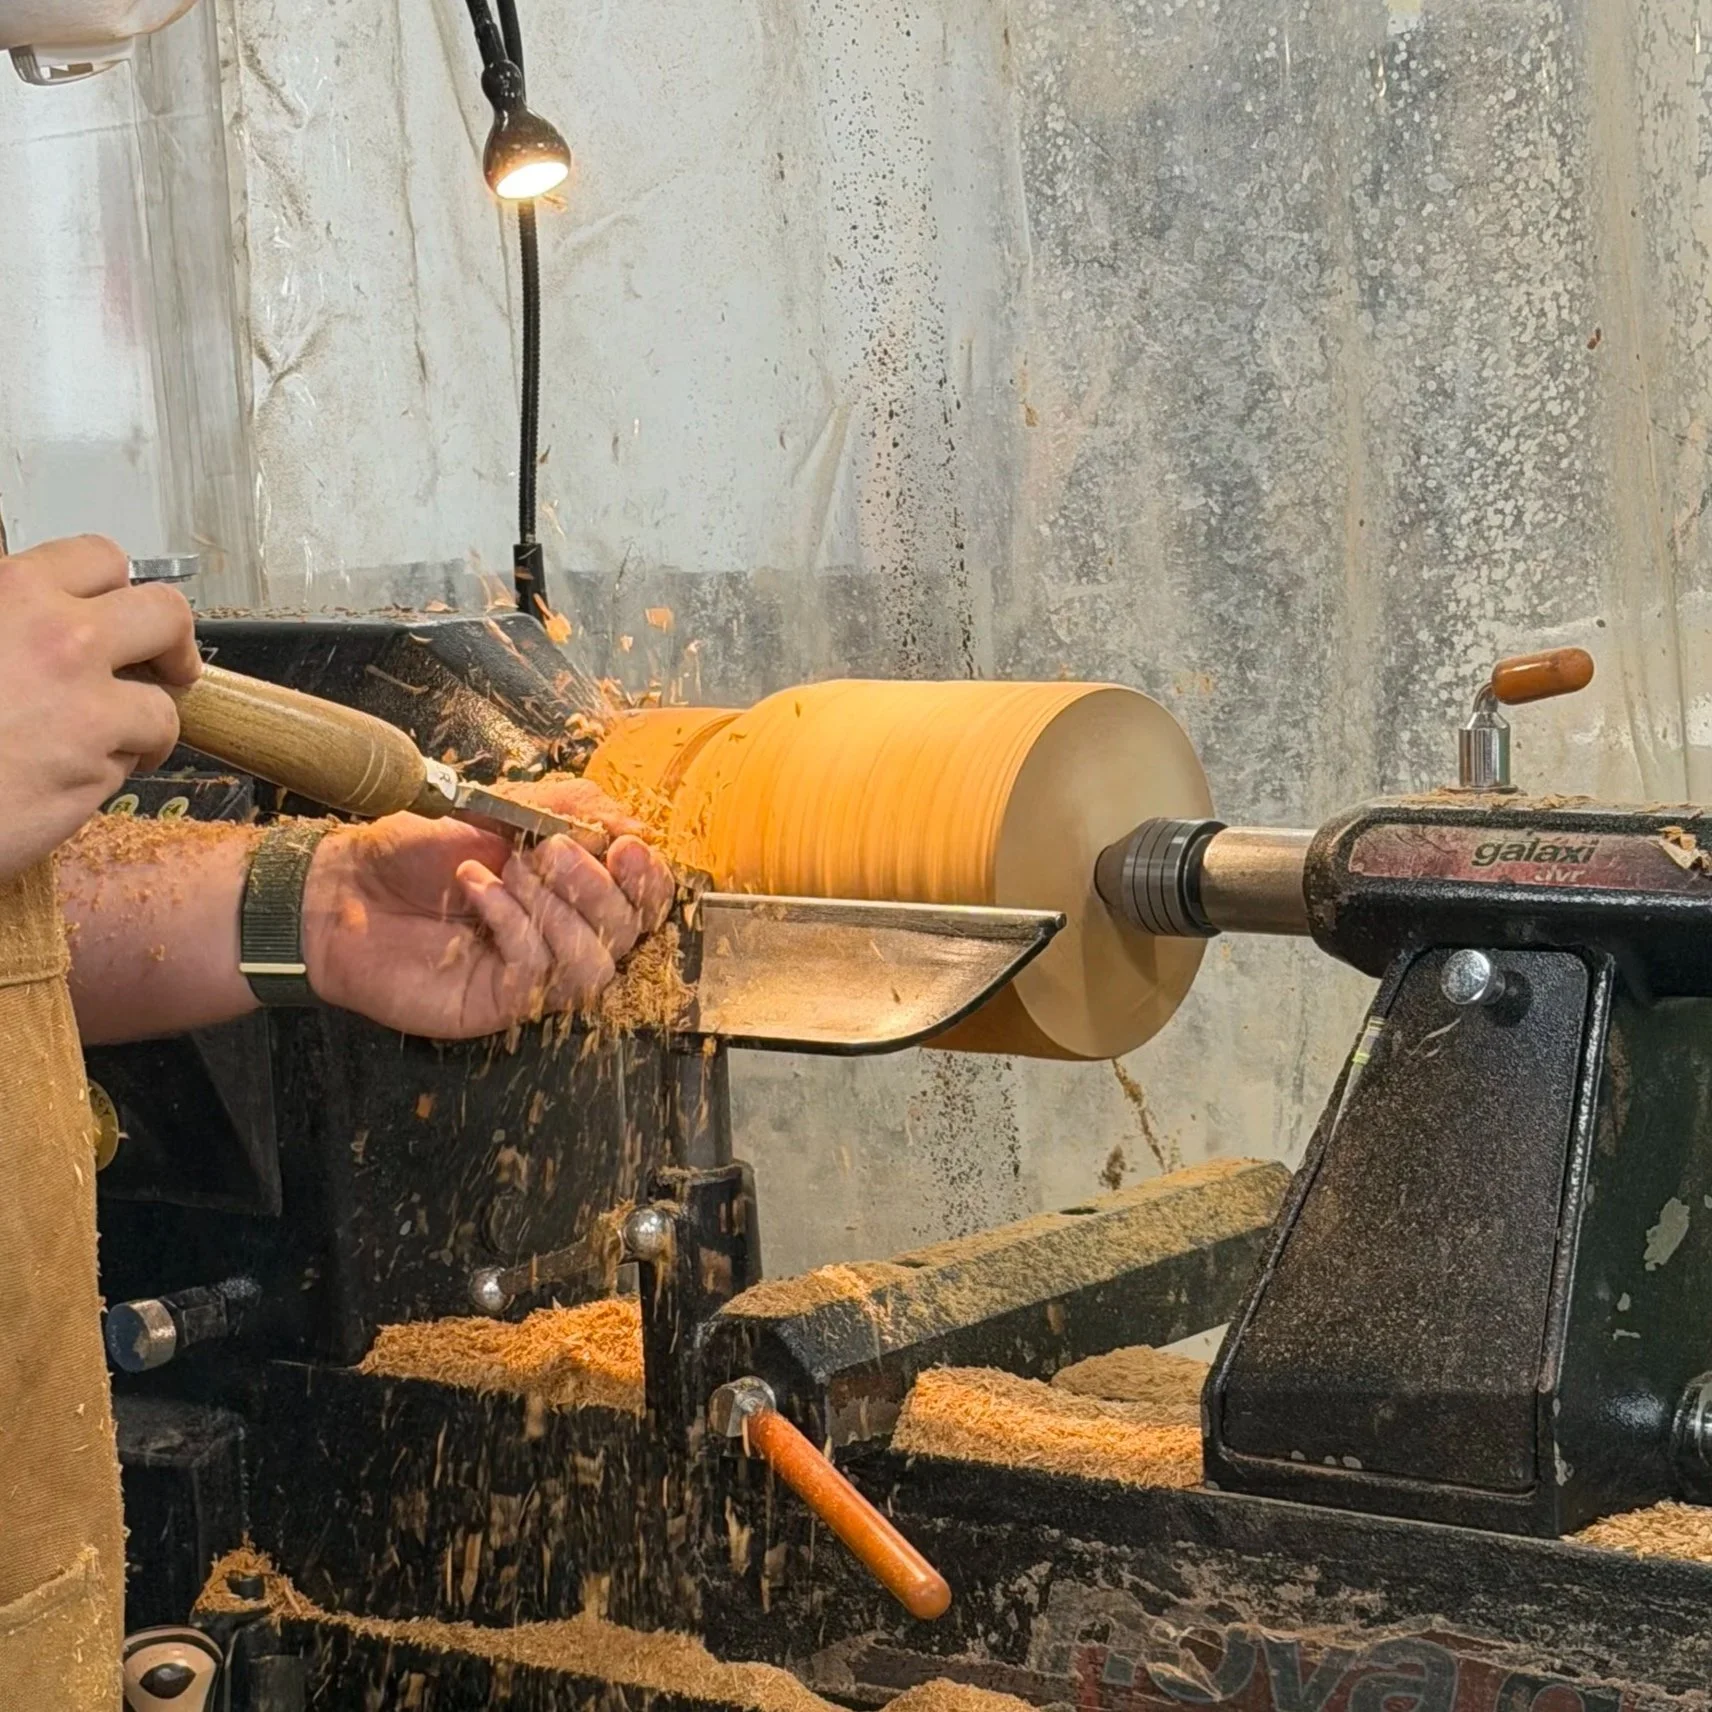
2. Shaping the urn
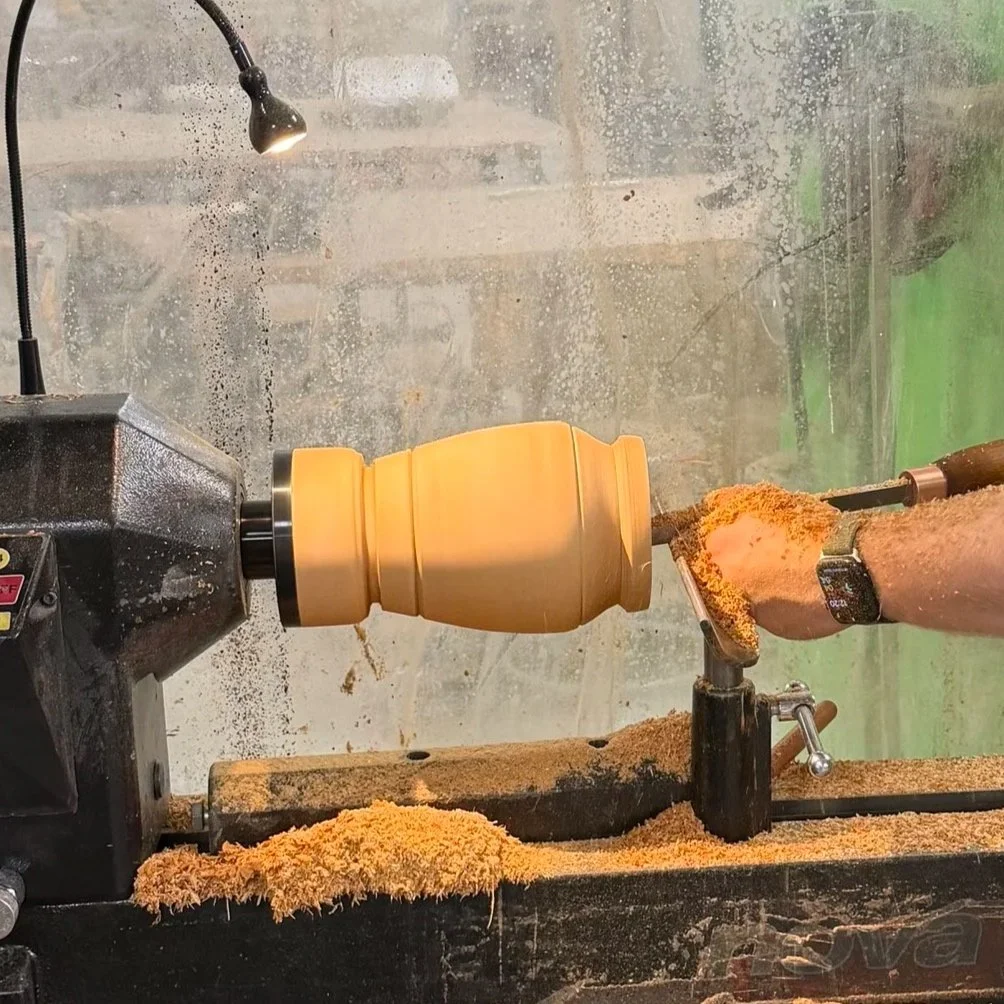
3. Hollowing the urn
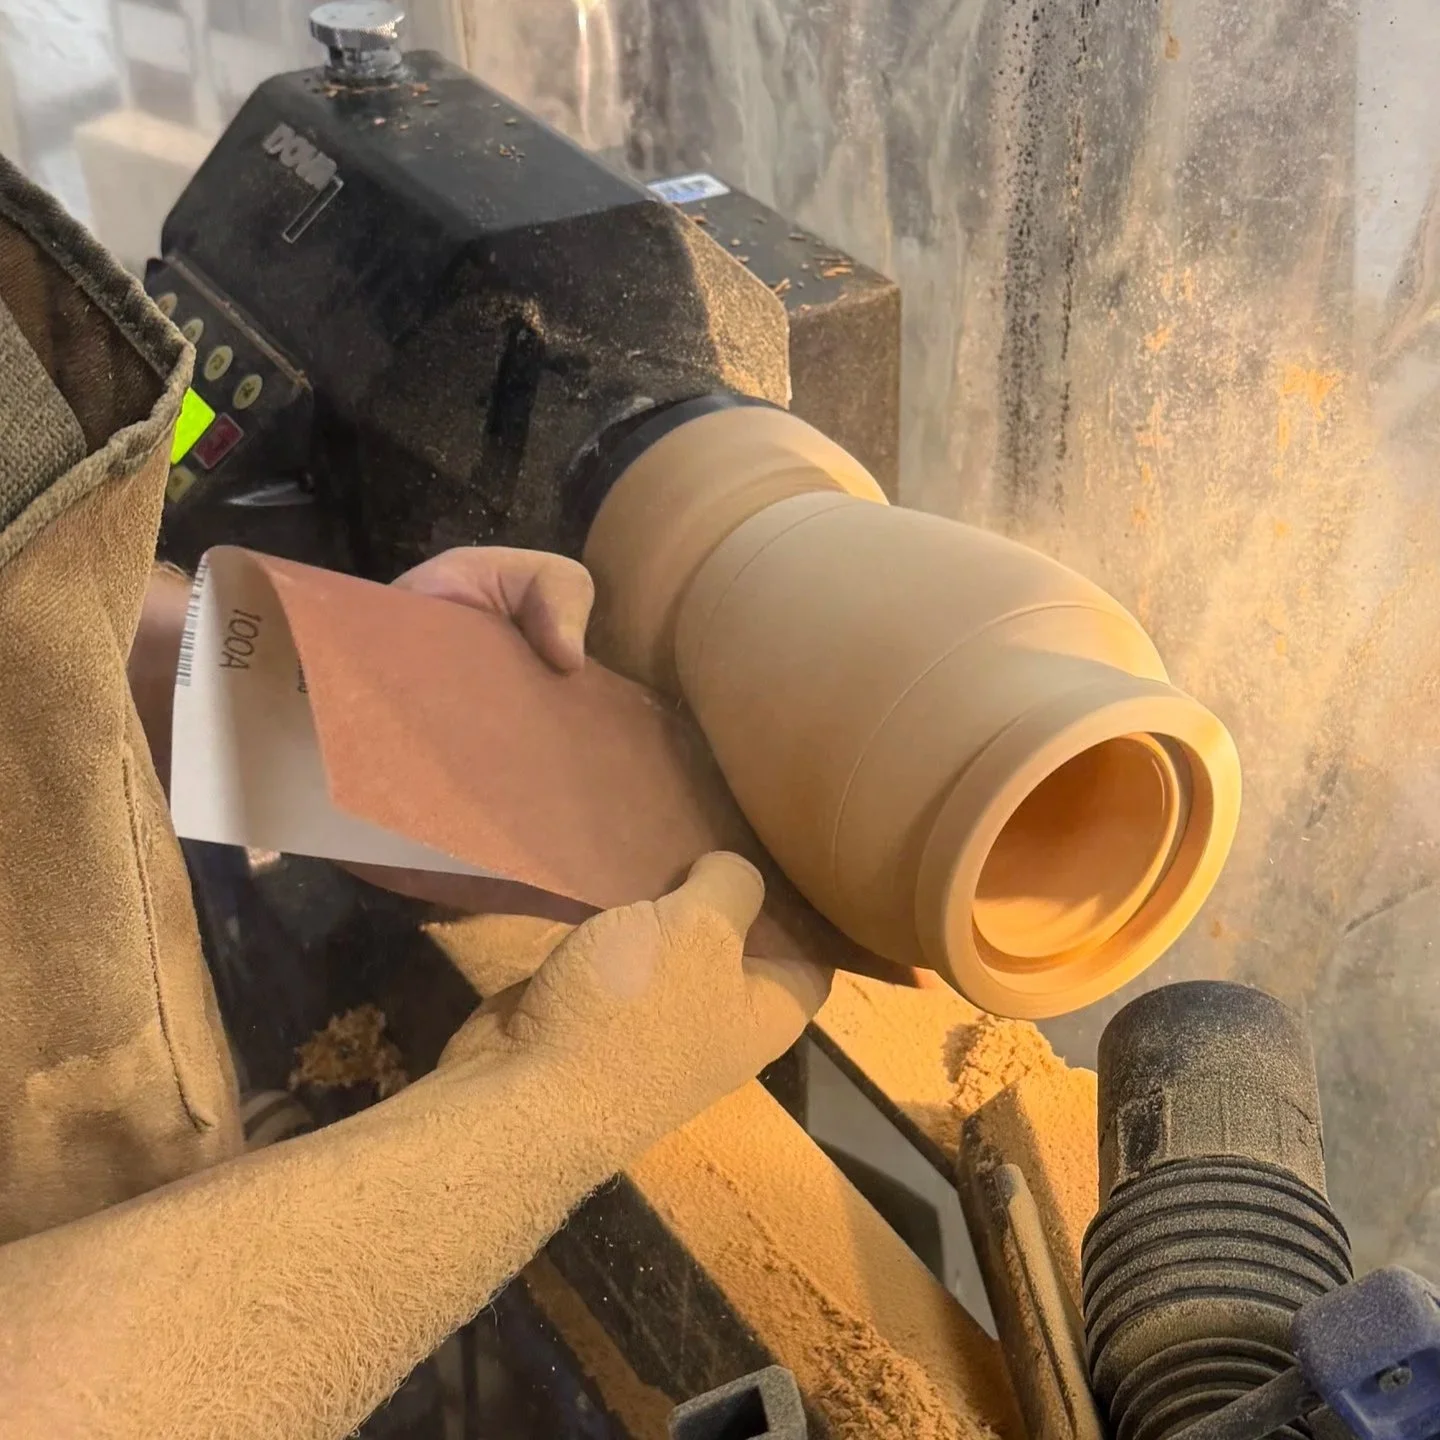
4. Finishing
Common Questions About Our Lathe Work
Will my urn look identical to the photos on the site? The overall dimensions, silhouette, and profile will match our catalog, but grain patterns, natural color tones, and figure variations ensure that no two turned urns are ever completely identical.
How do you prevent the wood from cracking over time? Stability begins with properly kiln-dried wood and is maintained through meticulous, even hollowing. Keeping wall thickness consistent eliminates the uneven internal tension that causes cracking.
How does the lid secure to the vessel? Every lid is custom-turned and individually matched to its specific vessel for a snug, reliable fit that keeps cremains secure and protected.
Step 4. Custom Relief Carving & Precision Engraving
Once the vessel has been shaped on the lathe, it transitions from a classic turned form into a deeply personal memorial. Using a combination of tools and techniques, we translate photographs, landscape scenes, botanical motifs, and meaningful text into three-dimensional tactile art directly on the hardwood.
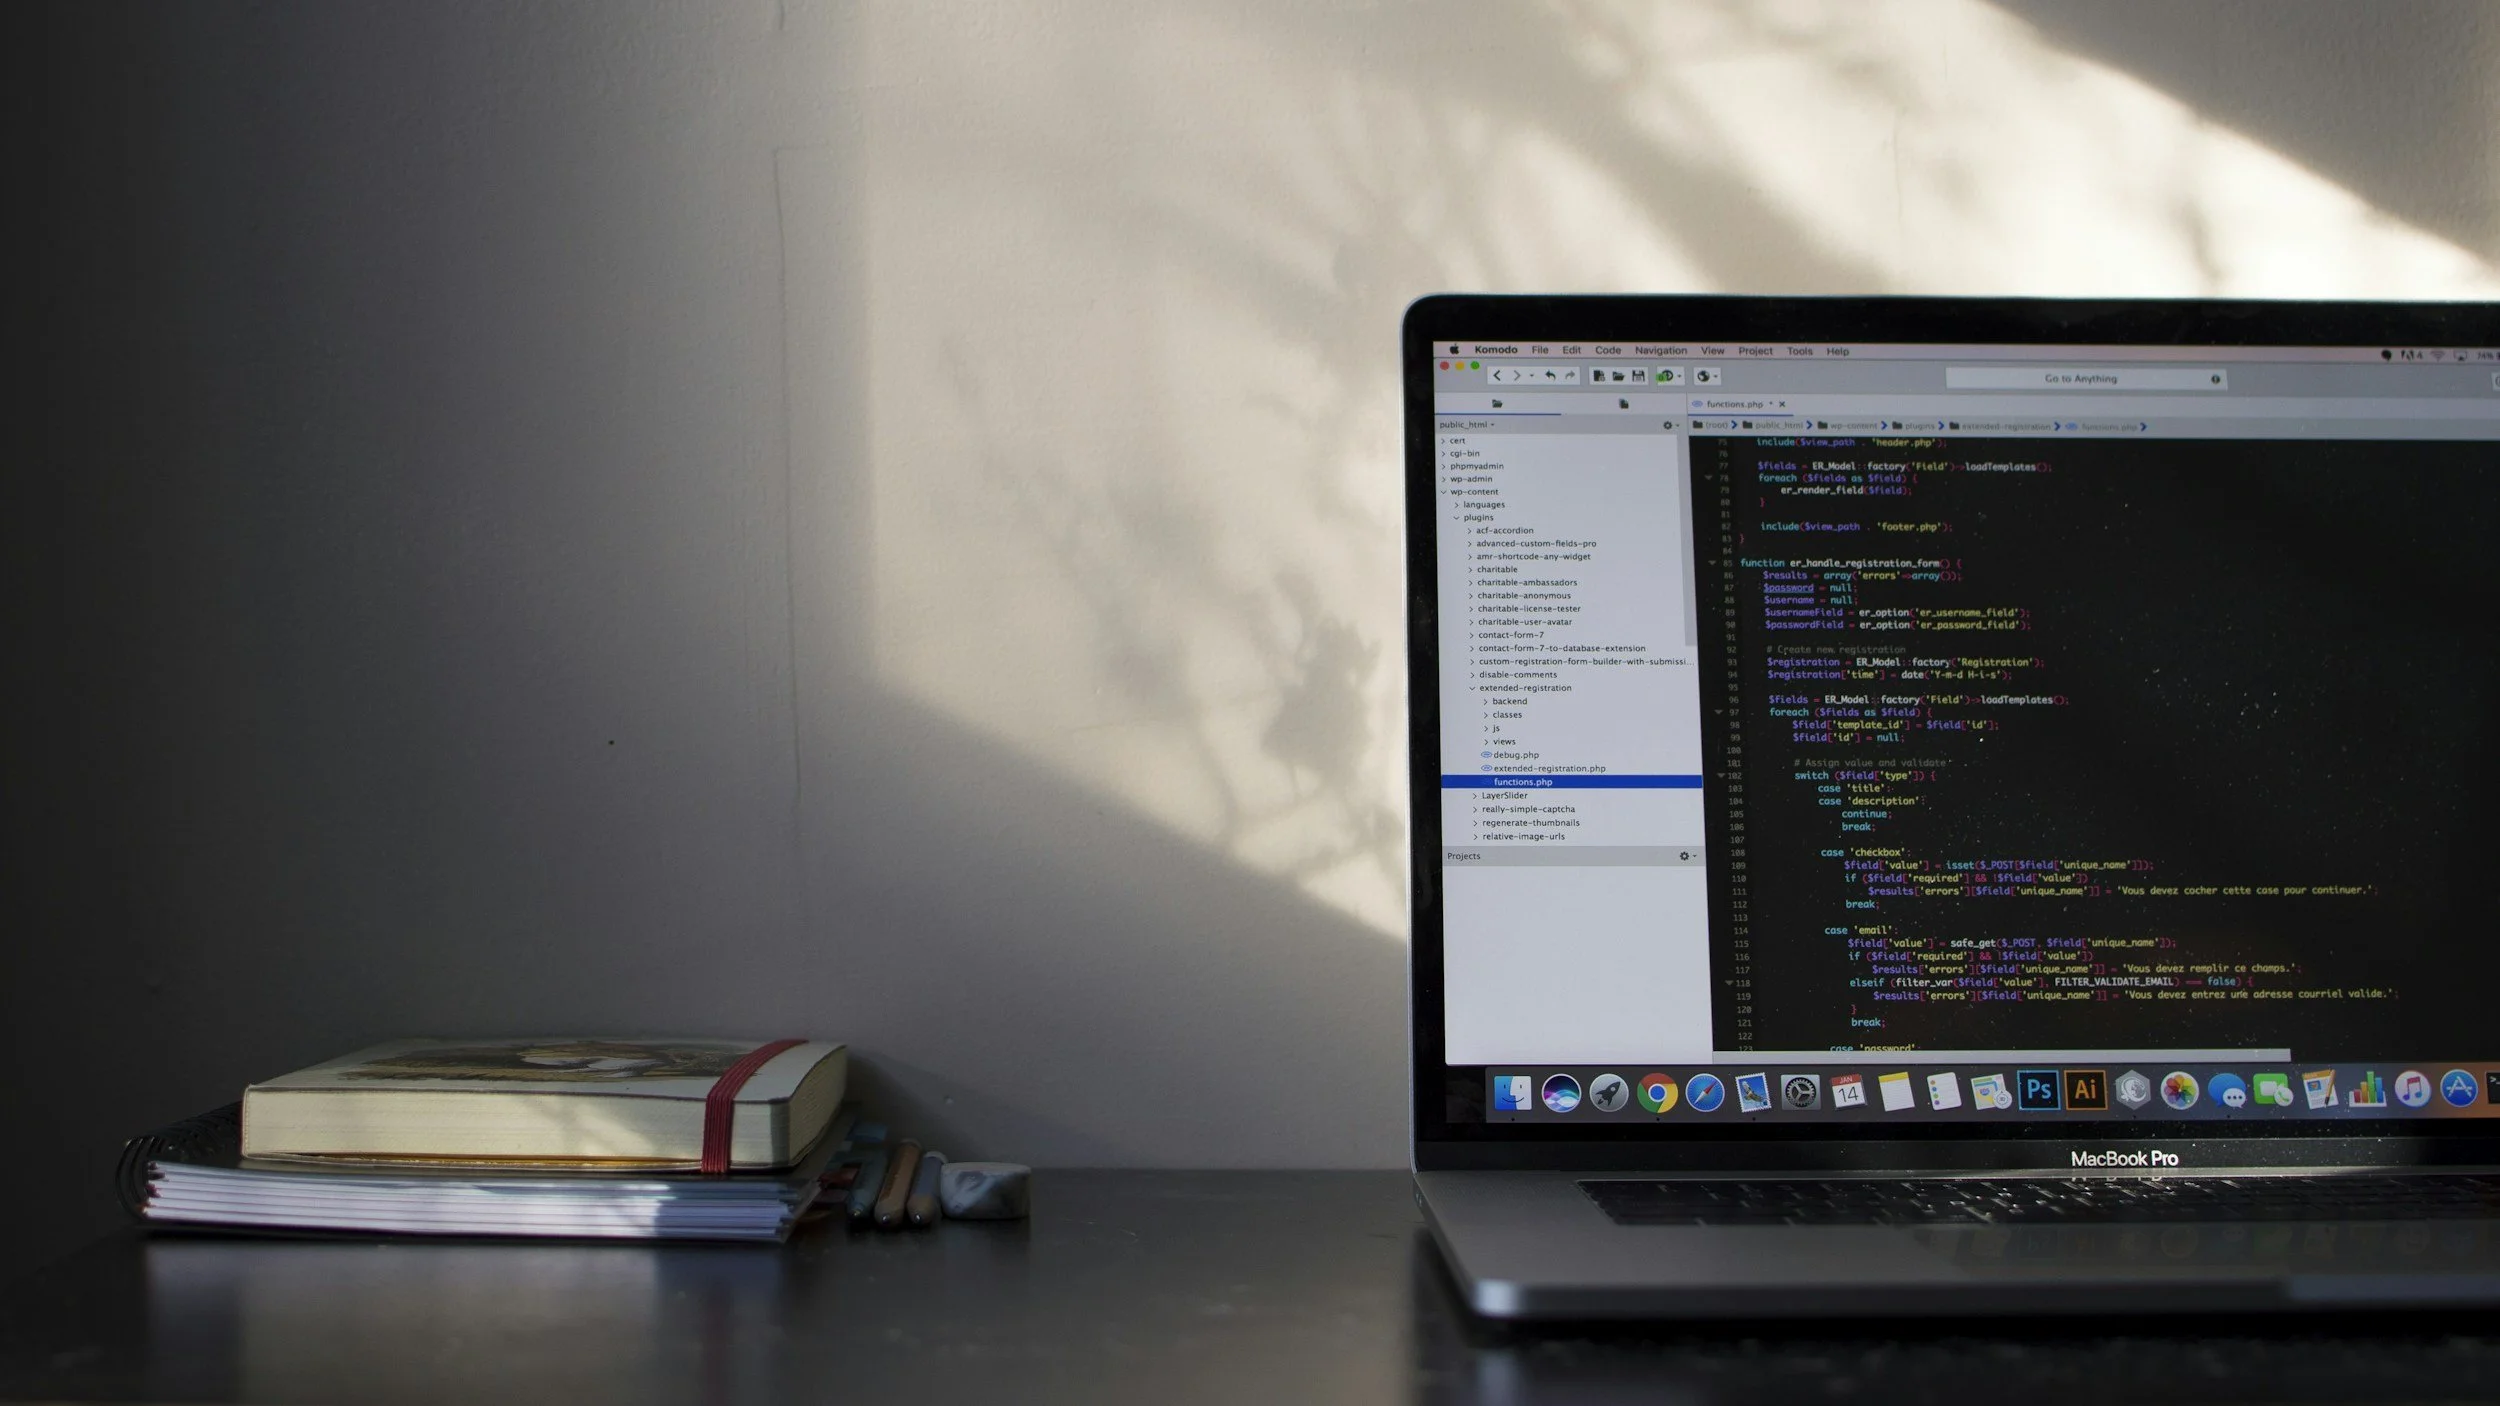
As we showed above, every custom piece starts as a photo or design concept. Whether adapting an image of a cherished companion, an intricate family crest, or custom typography, the design is carefully modeled into a continuous 3D topography on our internal software. Your data and photos are never shared with outside vendors or parties.
When we know what carving steps to take, we then begin the long and difficult process of carving your unique sculpture. This process involves a variety of both handheld and tabletop tools. Small features like the curve of a cats ear can end up needing their own unique tool to ensure future cuts do not endanger previous ones.
Rather than simple surface-level line cuts like laser engraving, the artwork is engineered with natural gradients, variable depth, and organic contours and we consider all of these as we carve. Every carved relief is inspected and delicately cleaned and sanded with and micro-sanding abrasives to soften tool marks while preserving the sharpest highlights.
Common Questions About Our Carvings & Engraving
What kind of imagery can be carved into the wood? We can carve detailed pet portraits, wildlife, scenic landscapes, botanical elements, emblems, and custom memorials. Clear, high-contrast photos provide the best source material for rich 3D relief depth.
Will the carving fade or wear down over time? No. Because the design is physically sculpted into the solid hardwood rather than printed onto the surface, the relief is permanent and will endure alongside the vessel.
Can text be placed anywhere on the urn? Inscriptions can be integrated into the outer ring of the front relief design, placed discreetly beneath the lid, or engraved on the base depending on your preference. Carving lettering directly on the side of a both curved and contoured surface is possible but not recommended due to the nature of the tools involved and the risk to the sculpted piece.
If you’d like us to create something outside of what we currently offer, we’d love to connect with you. Send us a brief message explaining your vision and we will connect on the best way to bring it to life.
Have something special in mind?
Frequently asked questions
-
Most custom urns are completed within 3-4 weeks from design approval. This includes time for handcrafting, carving, finishing, and curing. Rush orders may be available for an additional fee if you need your memorial urn sooner. After completion, shipping takes 3-5 business days via our secure carrier with tracking included.
-
Our urn styles hold between 80—220 cubic inches, which accommodates people and pets up to 250 lbs. The general rule is 1 cubic inch of capacity per pound of body weight. If you need to accommodate sizing above 250 lbs or need a smaller urn, contact us for custom sizing options.
-
We can work with most photographs, though clear, well-lit photos with good facial detail produce the best portrait carvings. Side profiles and three-quarter angles often carve beautifully. We'll work with you to select the ideal image if your photos have any issues.
-
All our urns feature secure lids. The opening is large enough to easily transfer ashes from the temporary container provided by your hospital, funeral home, veterinarian, or crematorium. Some may prefer to have their funeral home or vet handle this step during pickup. Feel free to contact us if you have more questions.
-
Yes, we ship handcrafted pet memorial urns and urns for people throughout the United States. Each urn is carefully packaged with protective materials to ensure it arrives in perfect condition. International shipping is available upon request.
-
Our pet urn prices include: custom portrait carving based on your photos, personalized text engraving (pet's name, dates, short message), premium wood construction, hand-applied finish, secure lid, design consultation and approval, nationwide shipping, and satisfaction guarantee. No hidden fees.
-
You are welcome to review our gallery and various business profiles to see completed orders and testimonials. Although we cannot complete design work for you before an order is placed, we understand that some designs can be unique and are happy to discuss feasibility on the phone before an order is placed.
-
Wooden urns are finished with protective oil that brings out natural beauty while sealing the wood. Simply dust occasionally with a soft cloth. Avoid direct sunlight and extreme temperature changes. With basic care, your pet's memorial urn will remain beautiful for generations, becoming a cherished family keepsake.